
Learn how to add tasks
This brief article explains how to create tasks and their purposes.
Purpose: This task was created with the goal of tracking the progress of the lead, depending on how many points were completed. For example, ✅ Make the first call, ✅ Send the first message, ✅ Send email.
Benefits: Both the manager and the coordinator can track the lead status by just looking at the progress bar (shown once a task is created).
In the progress bar, different colors (red, orange, and green) will appear, depending on the progress of the completed task.
Create a task: There are two ways of creating a task
First Option: The first option is advised for managers to define specified tasks that display every time a lead is created. For example, make the first call, send the first message, and send an email.
Note: "The chances of closing the lead increase as more tasks are completed."
How to create predetermined tasks?
1- Go to settings
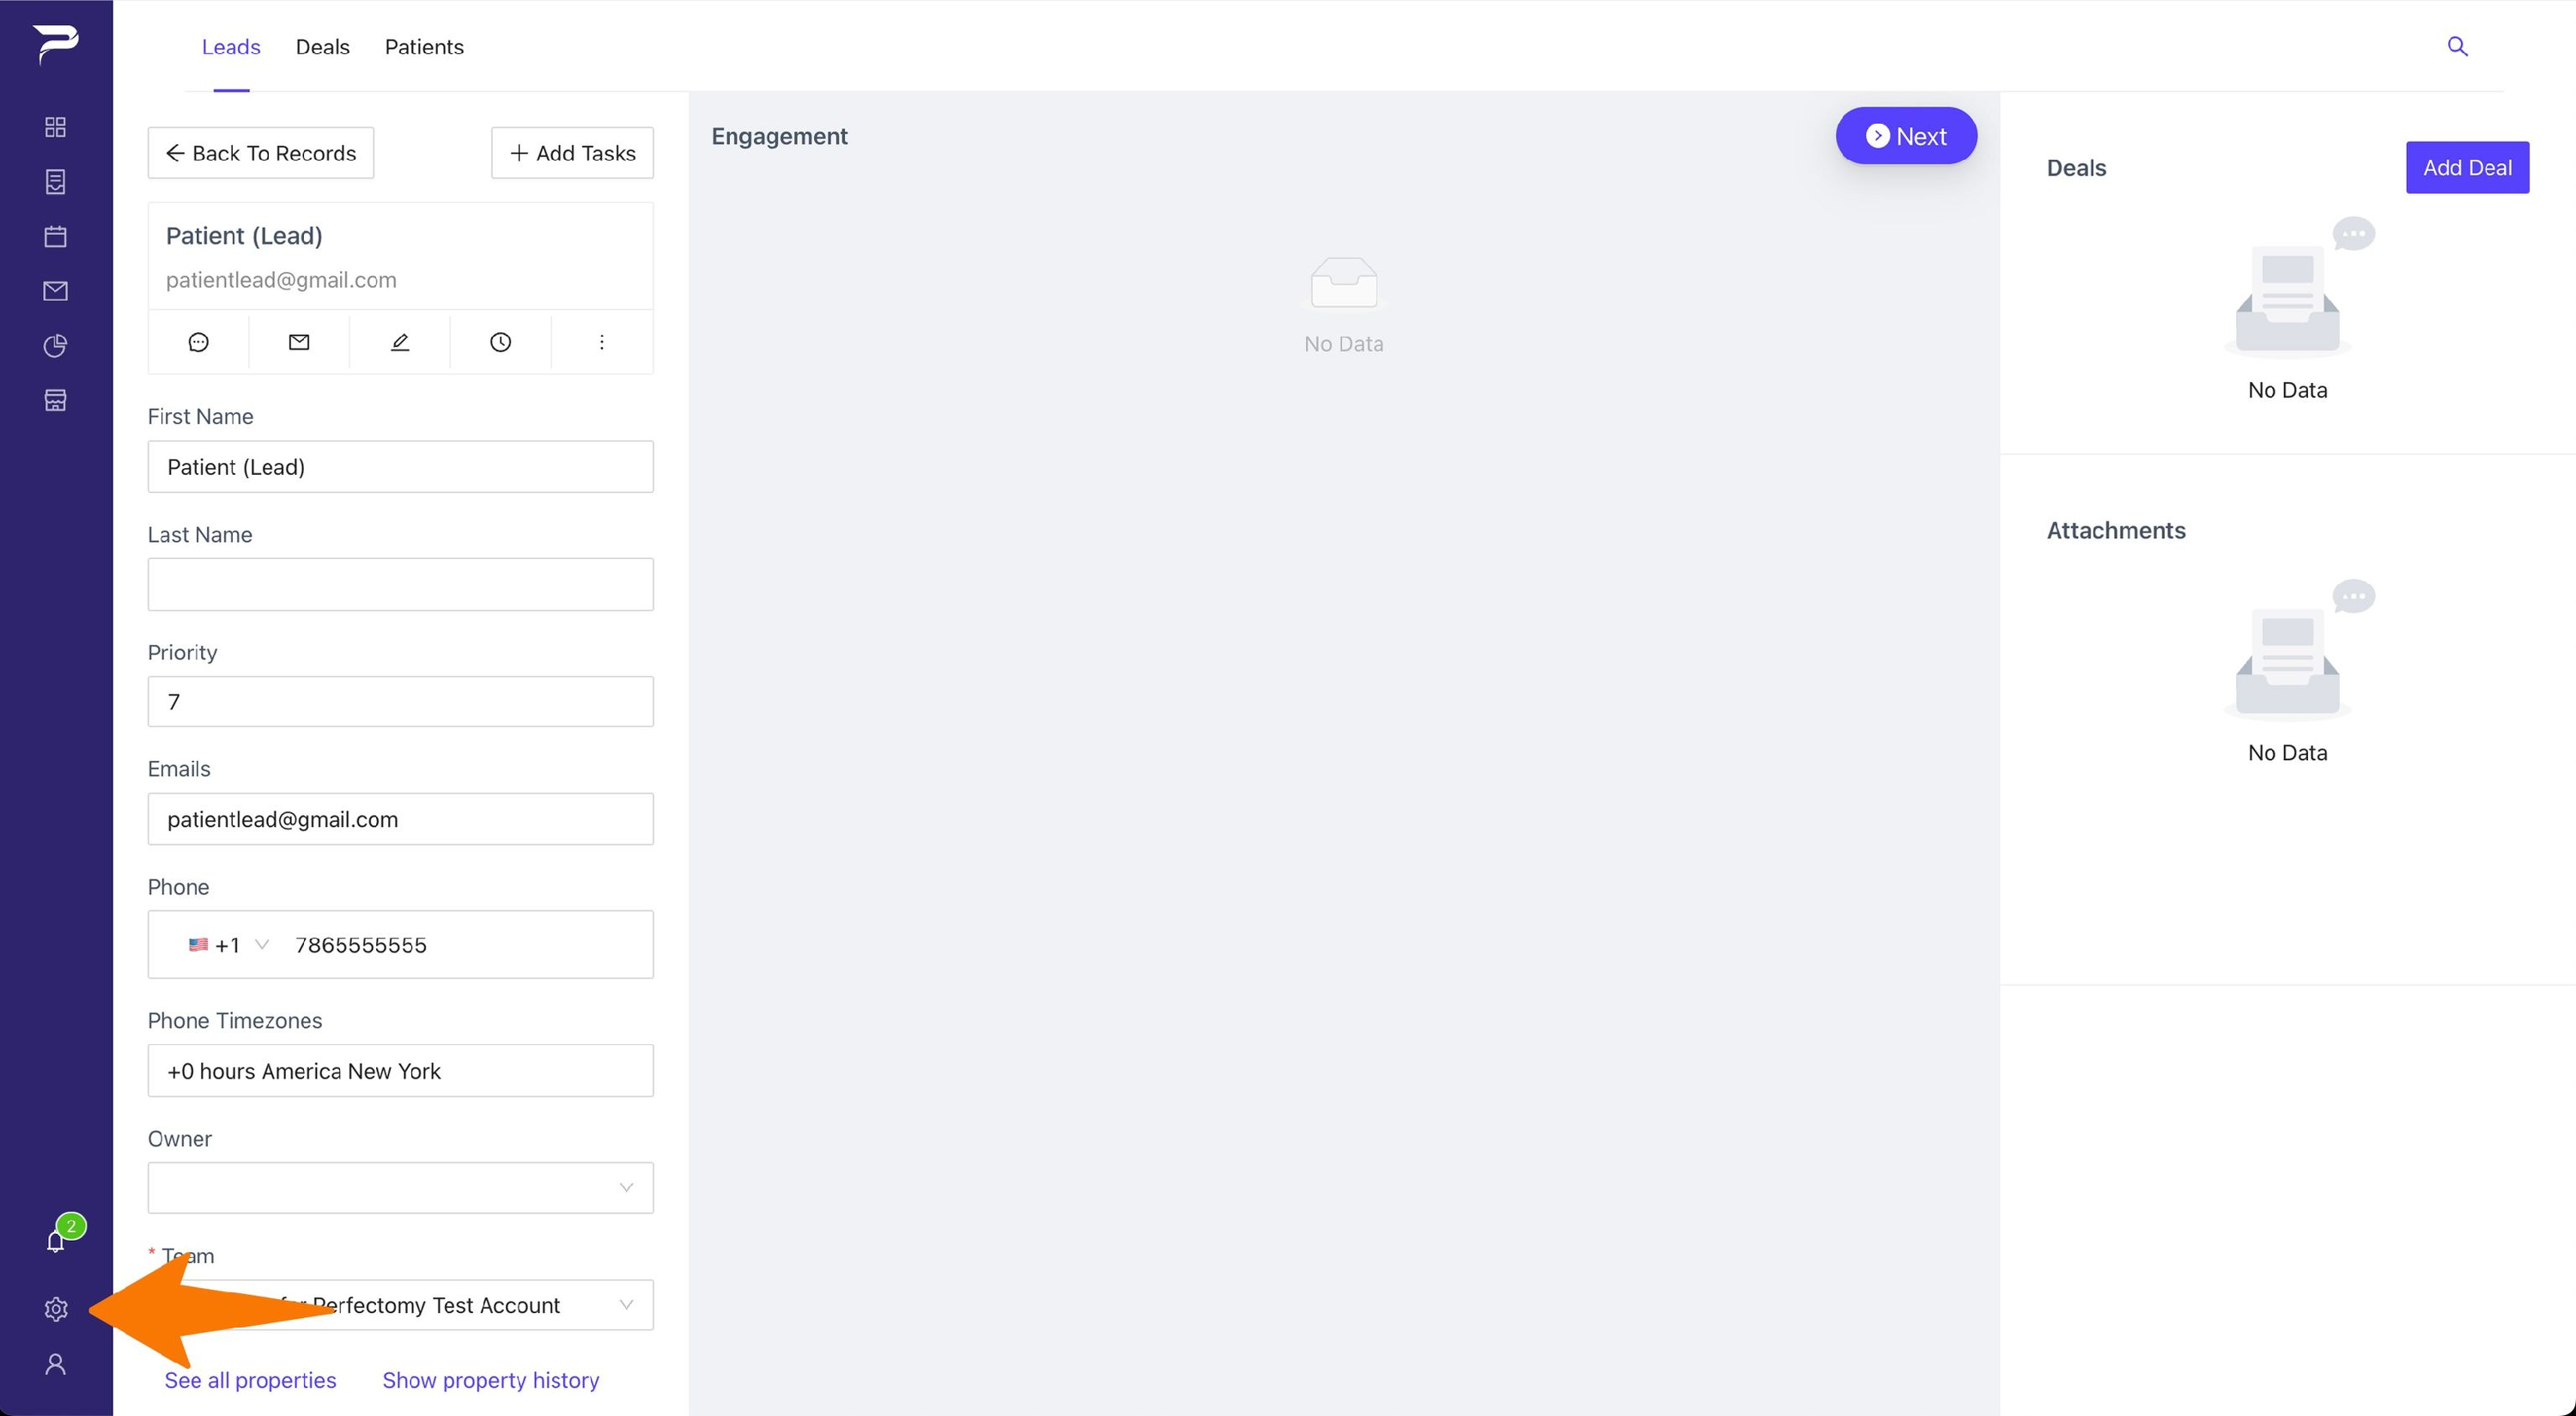
2- Click “ Object Tasks”
Open Click-object-tasks.jpg
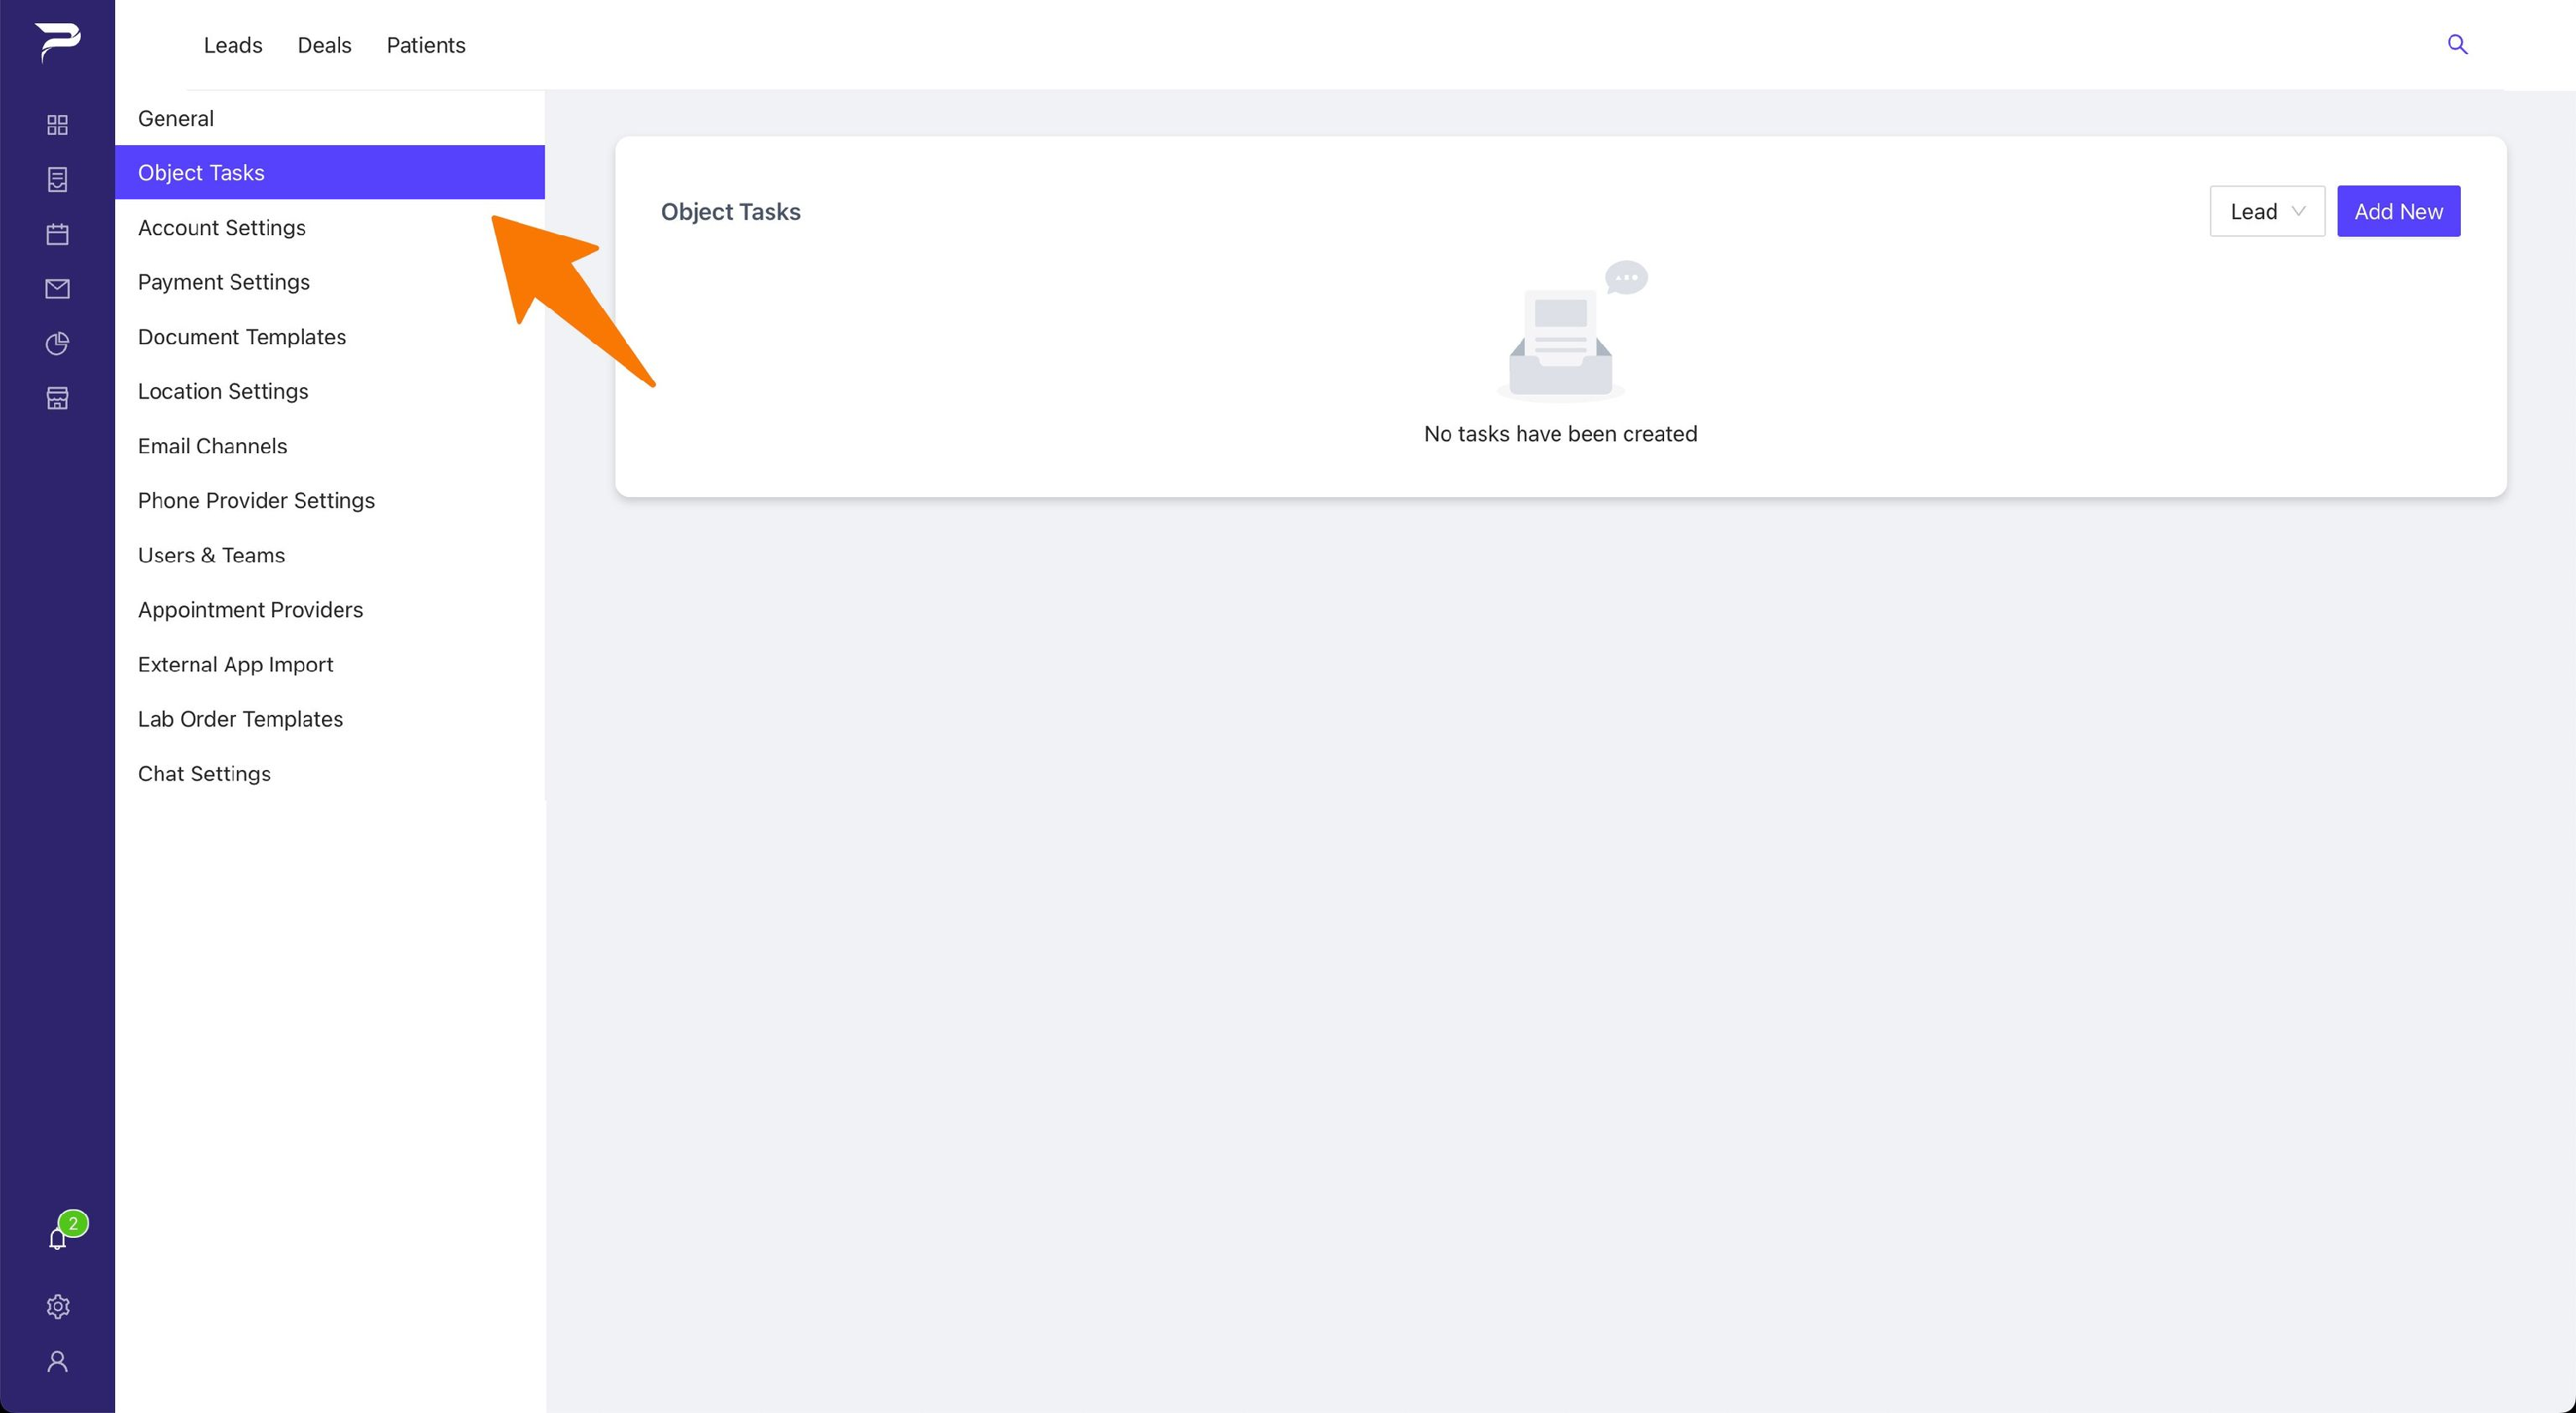
3- Choose lead.
You have the options to create predetermined tasks for leads and for patients.
Open Choose-Lead-Tasks.jpg
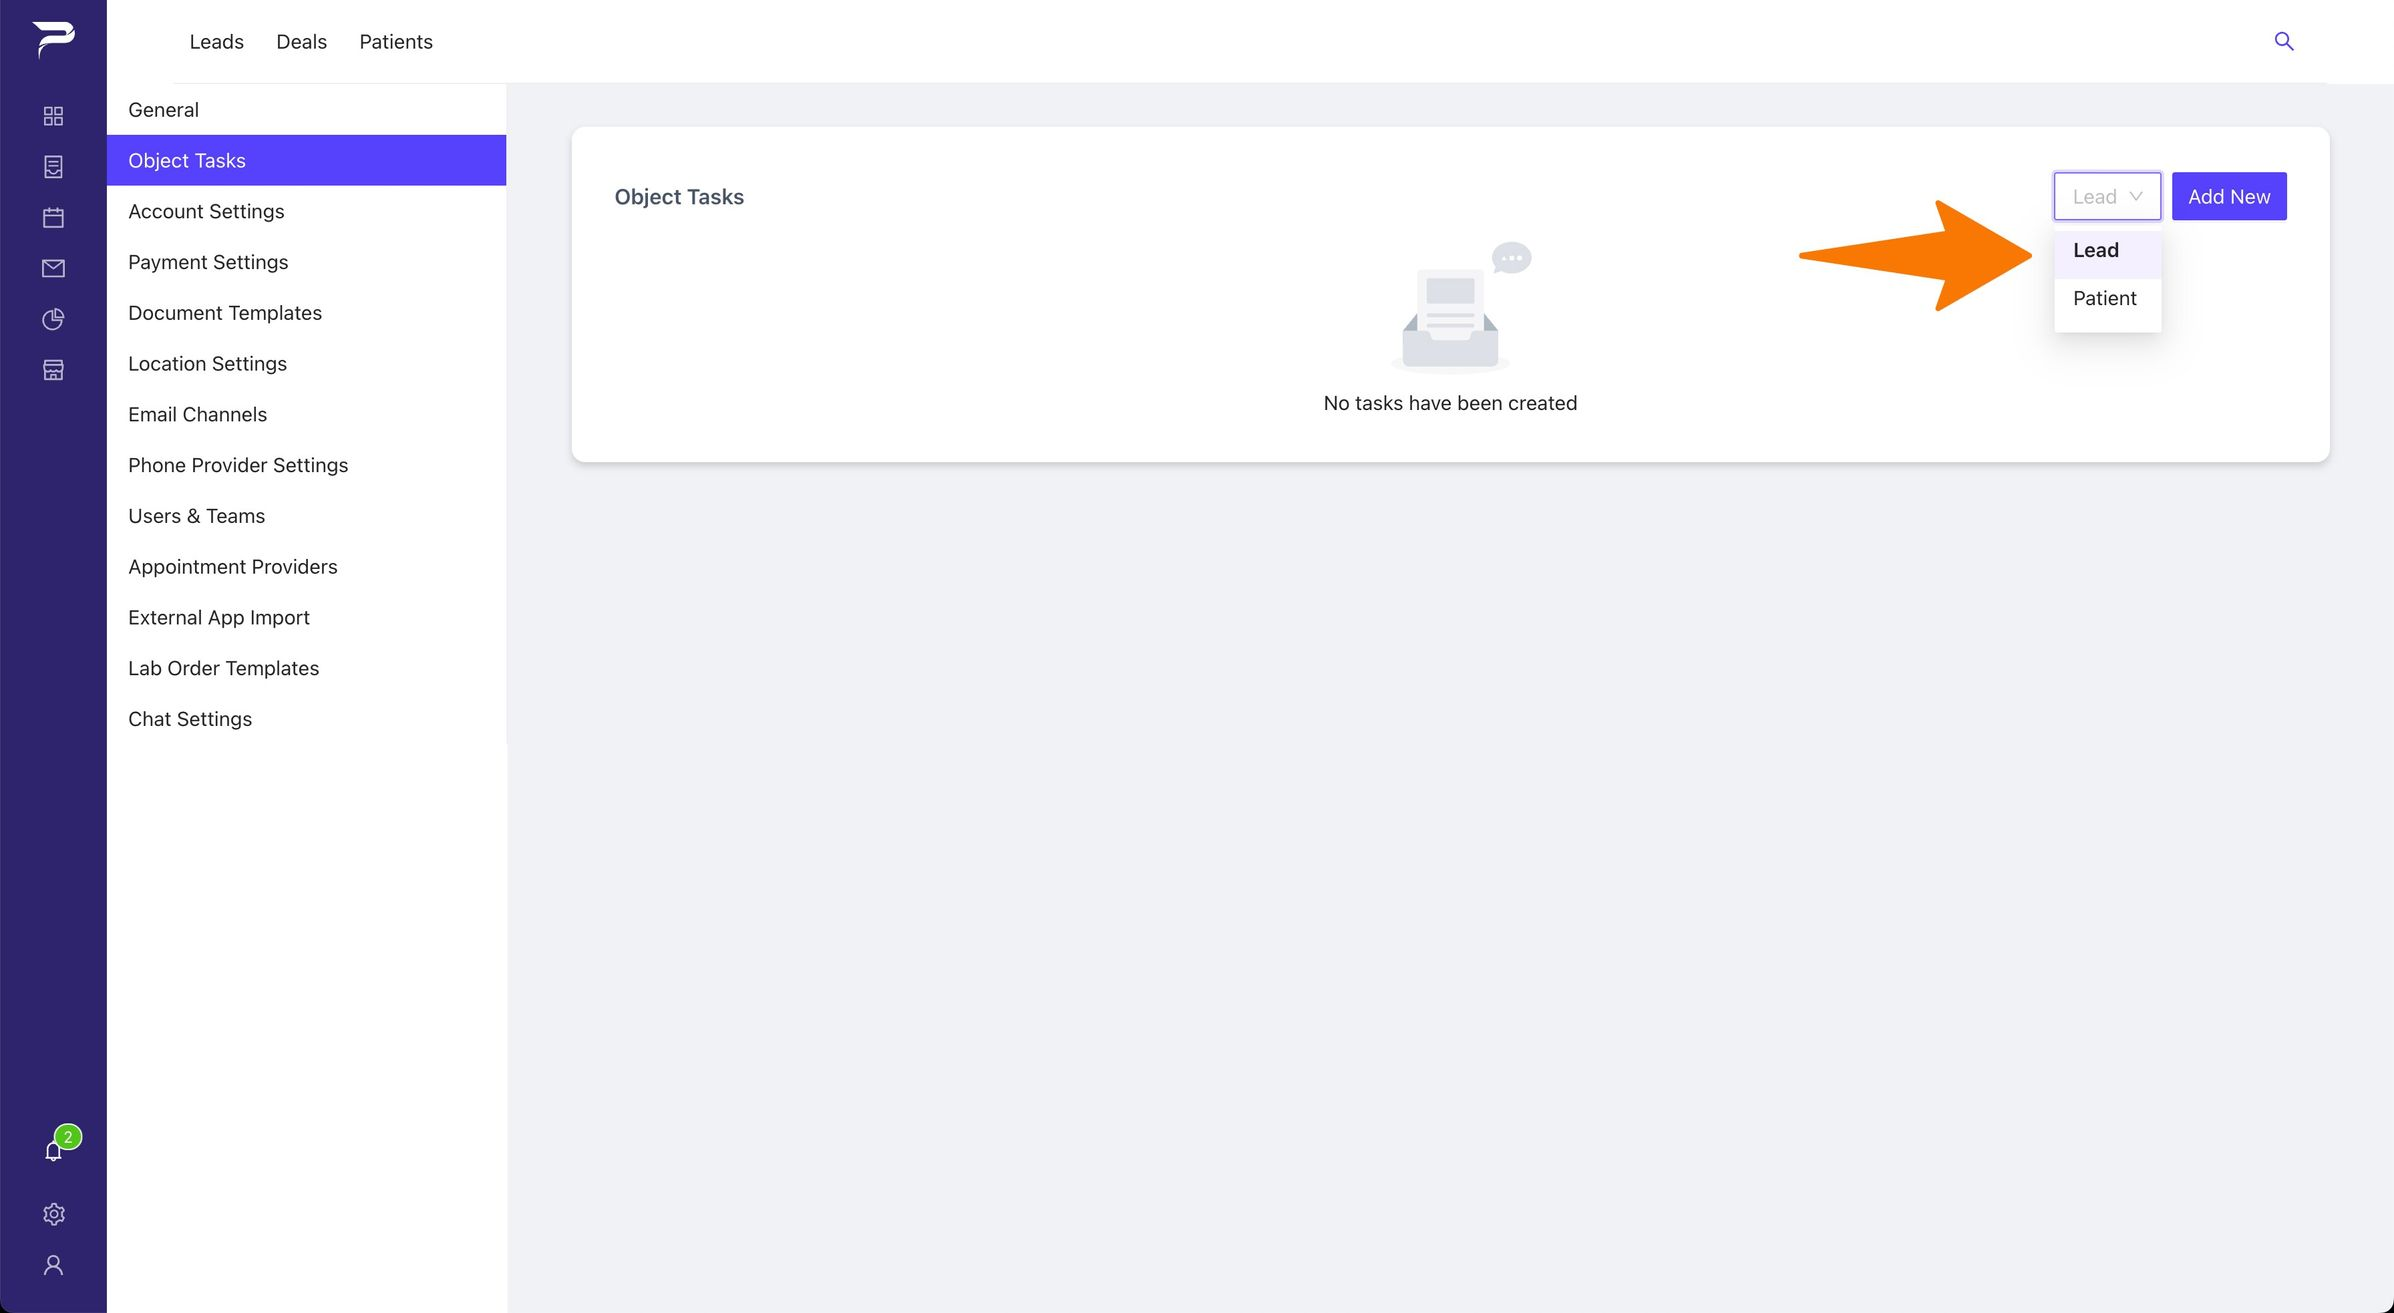
4- Click “add new” button and start creating predetermined task best suited for your needs.
Open CLICK-ADD-new.jpg
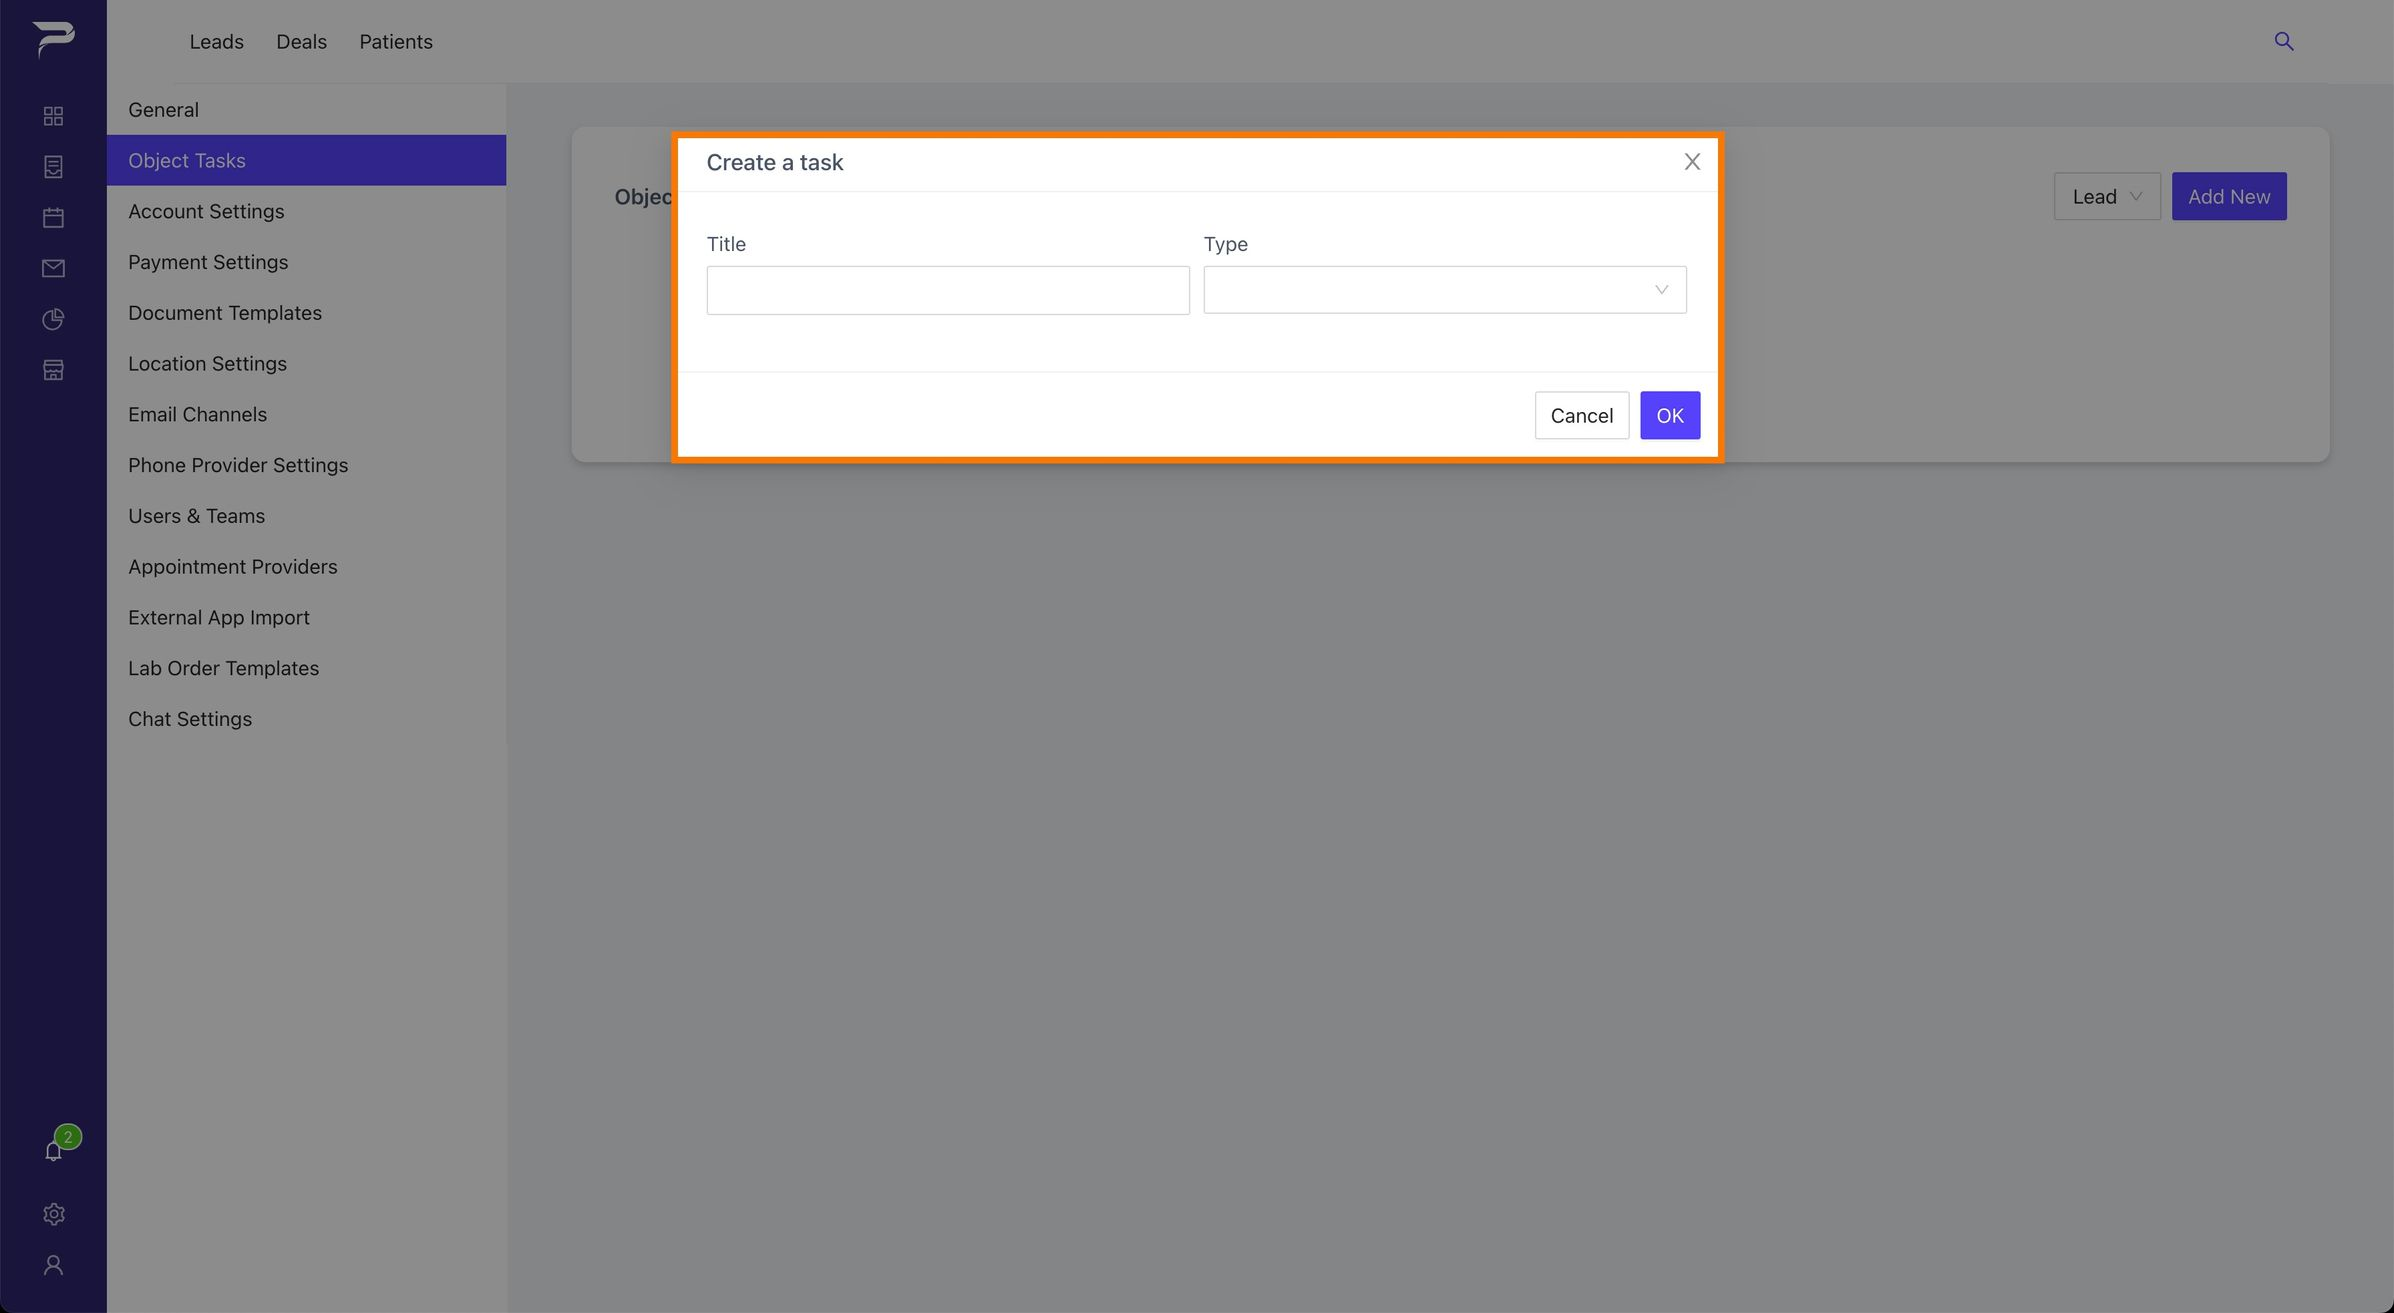
Congratulations, you created your predetermined tasks.
Once your tasks are created it will appear in your lead/patient workplace layout and records.
Open Lead-tasks-on-leads-layout.jpg
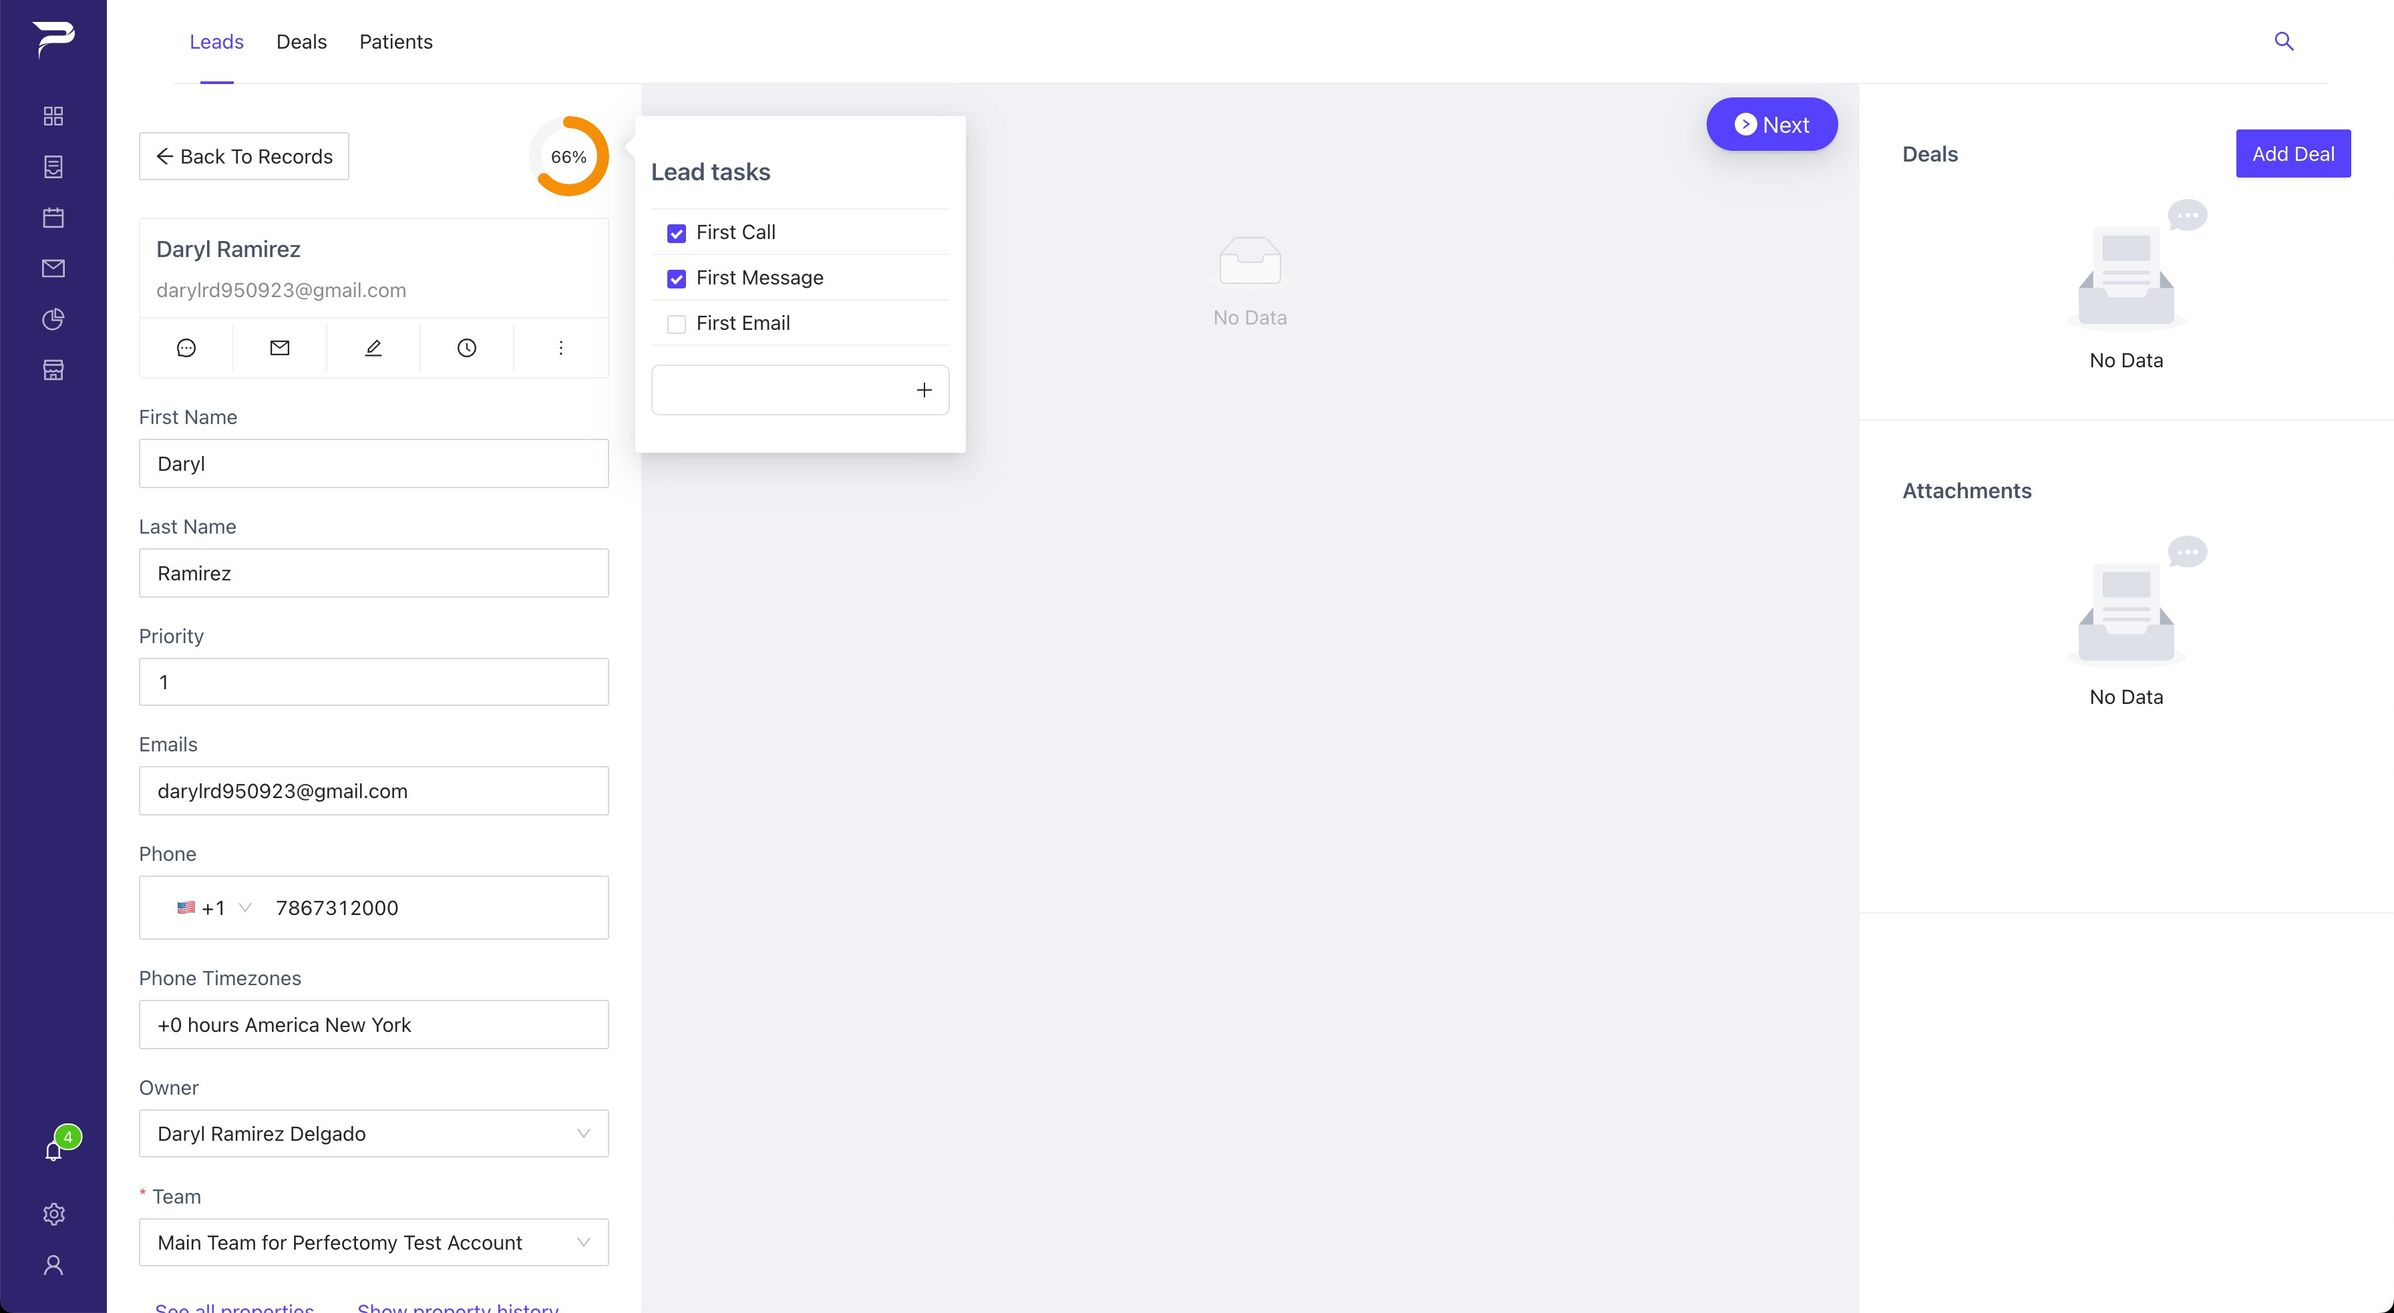
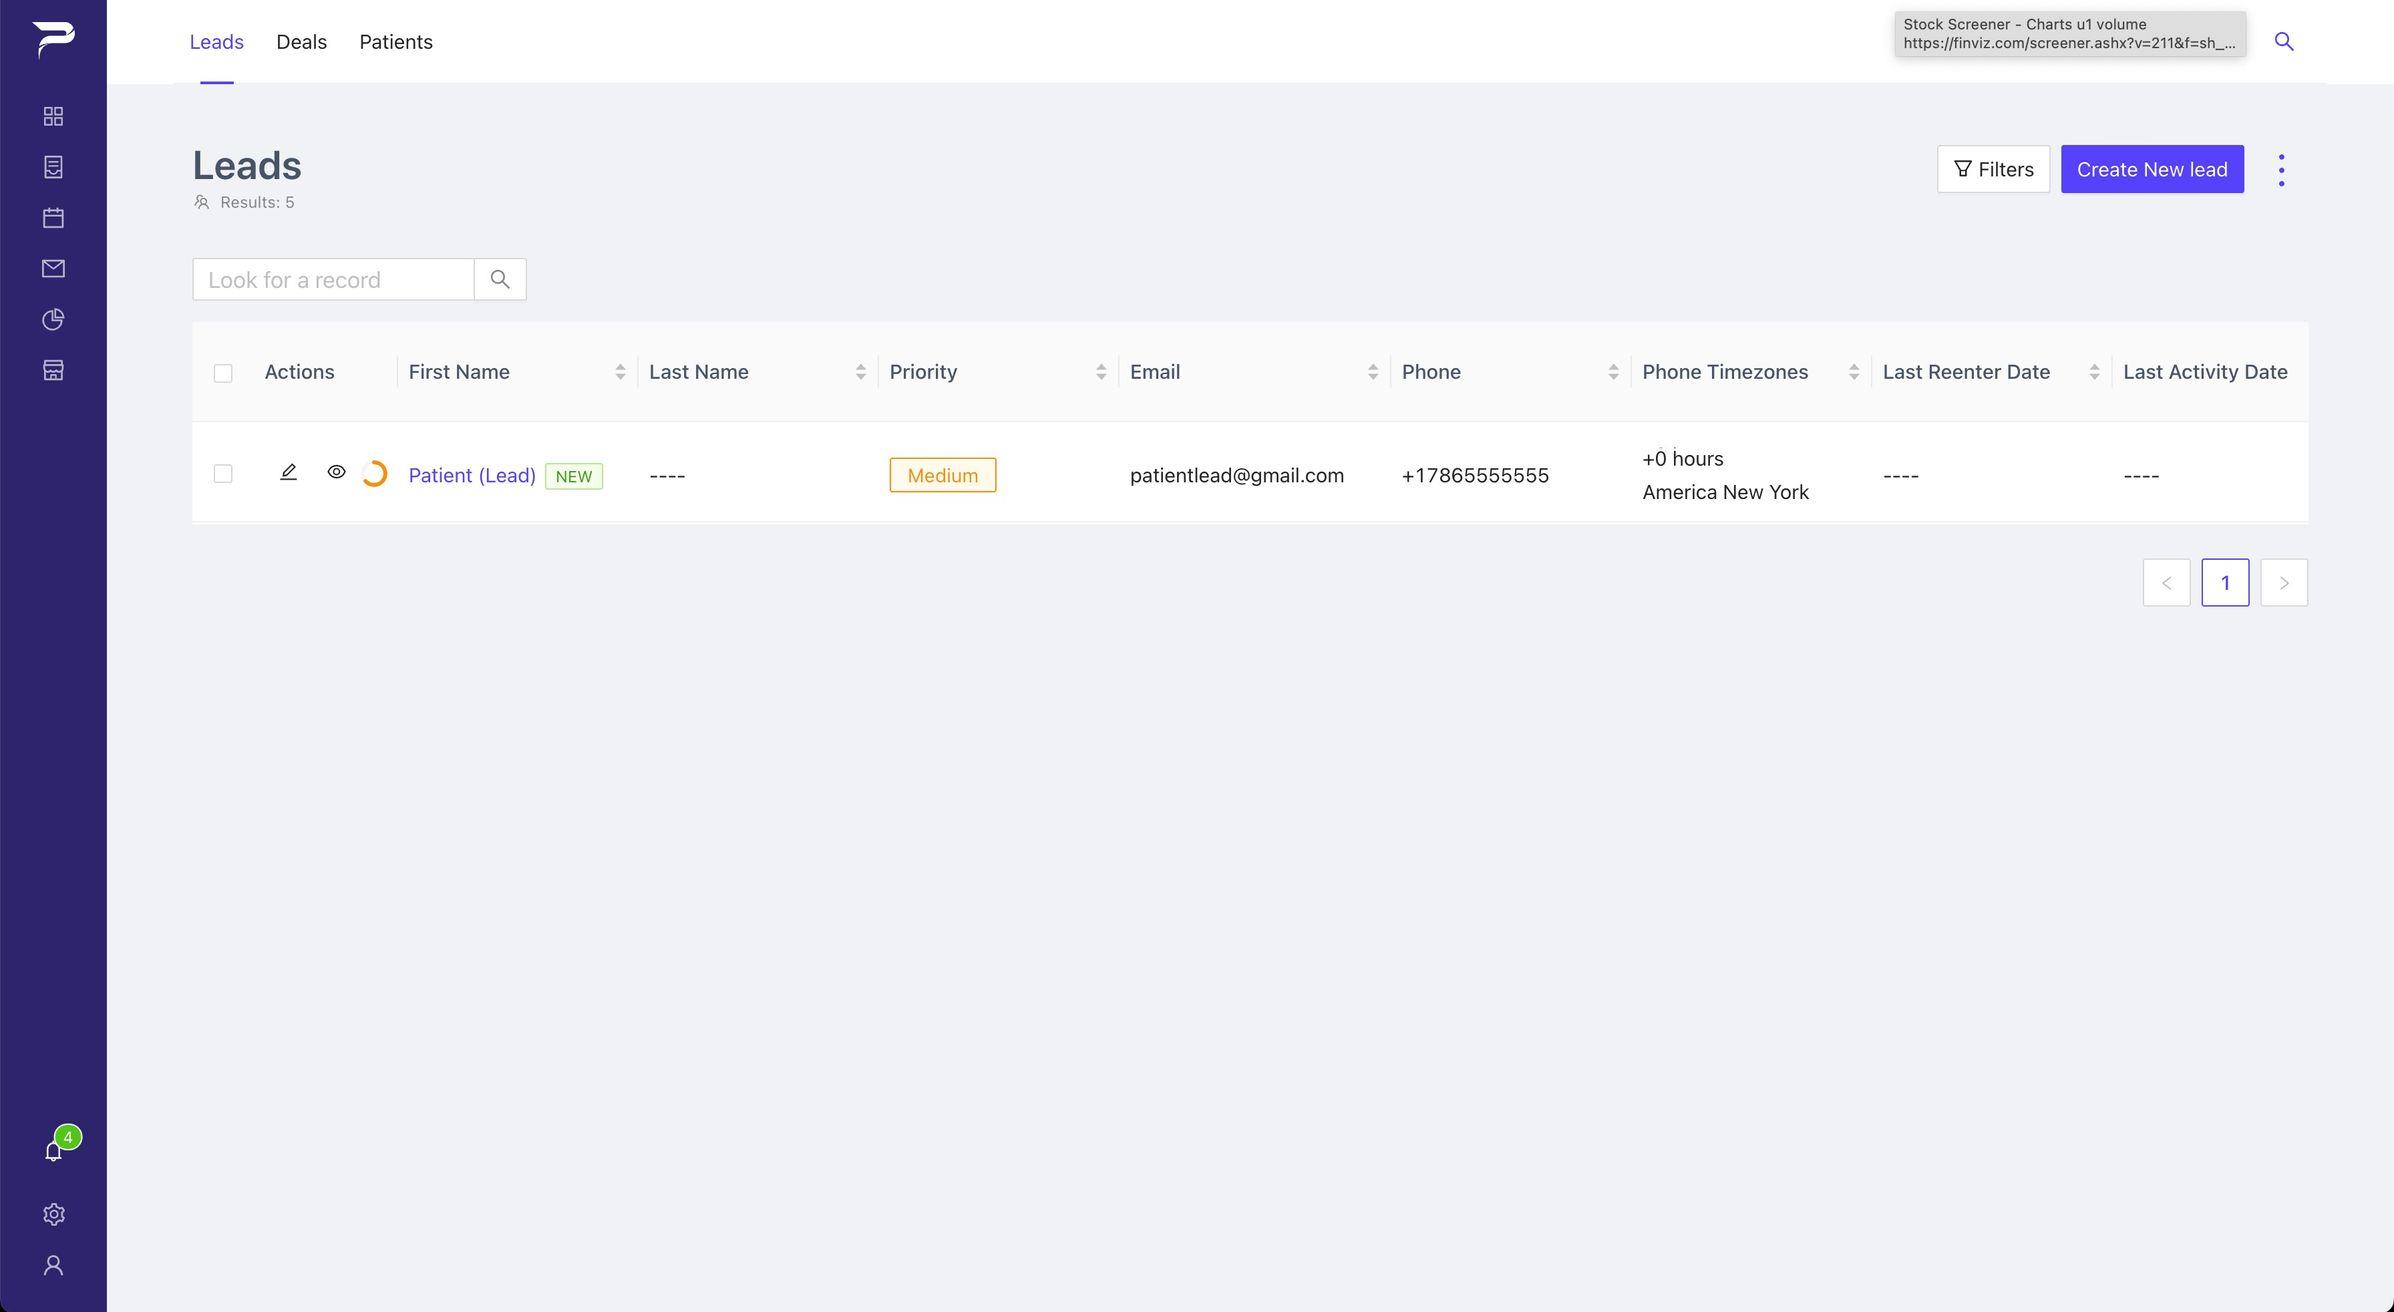
Note: Only leads created after applying predetermined tasks will have a progress indicator. So in order to see the progress bar you will need to wait until new leads are created.
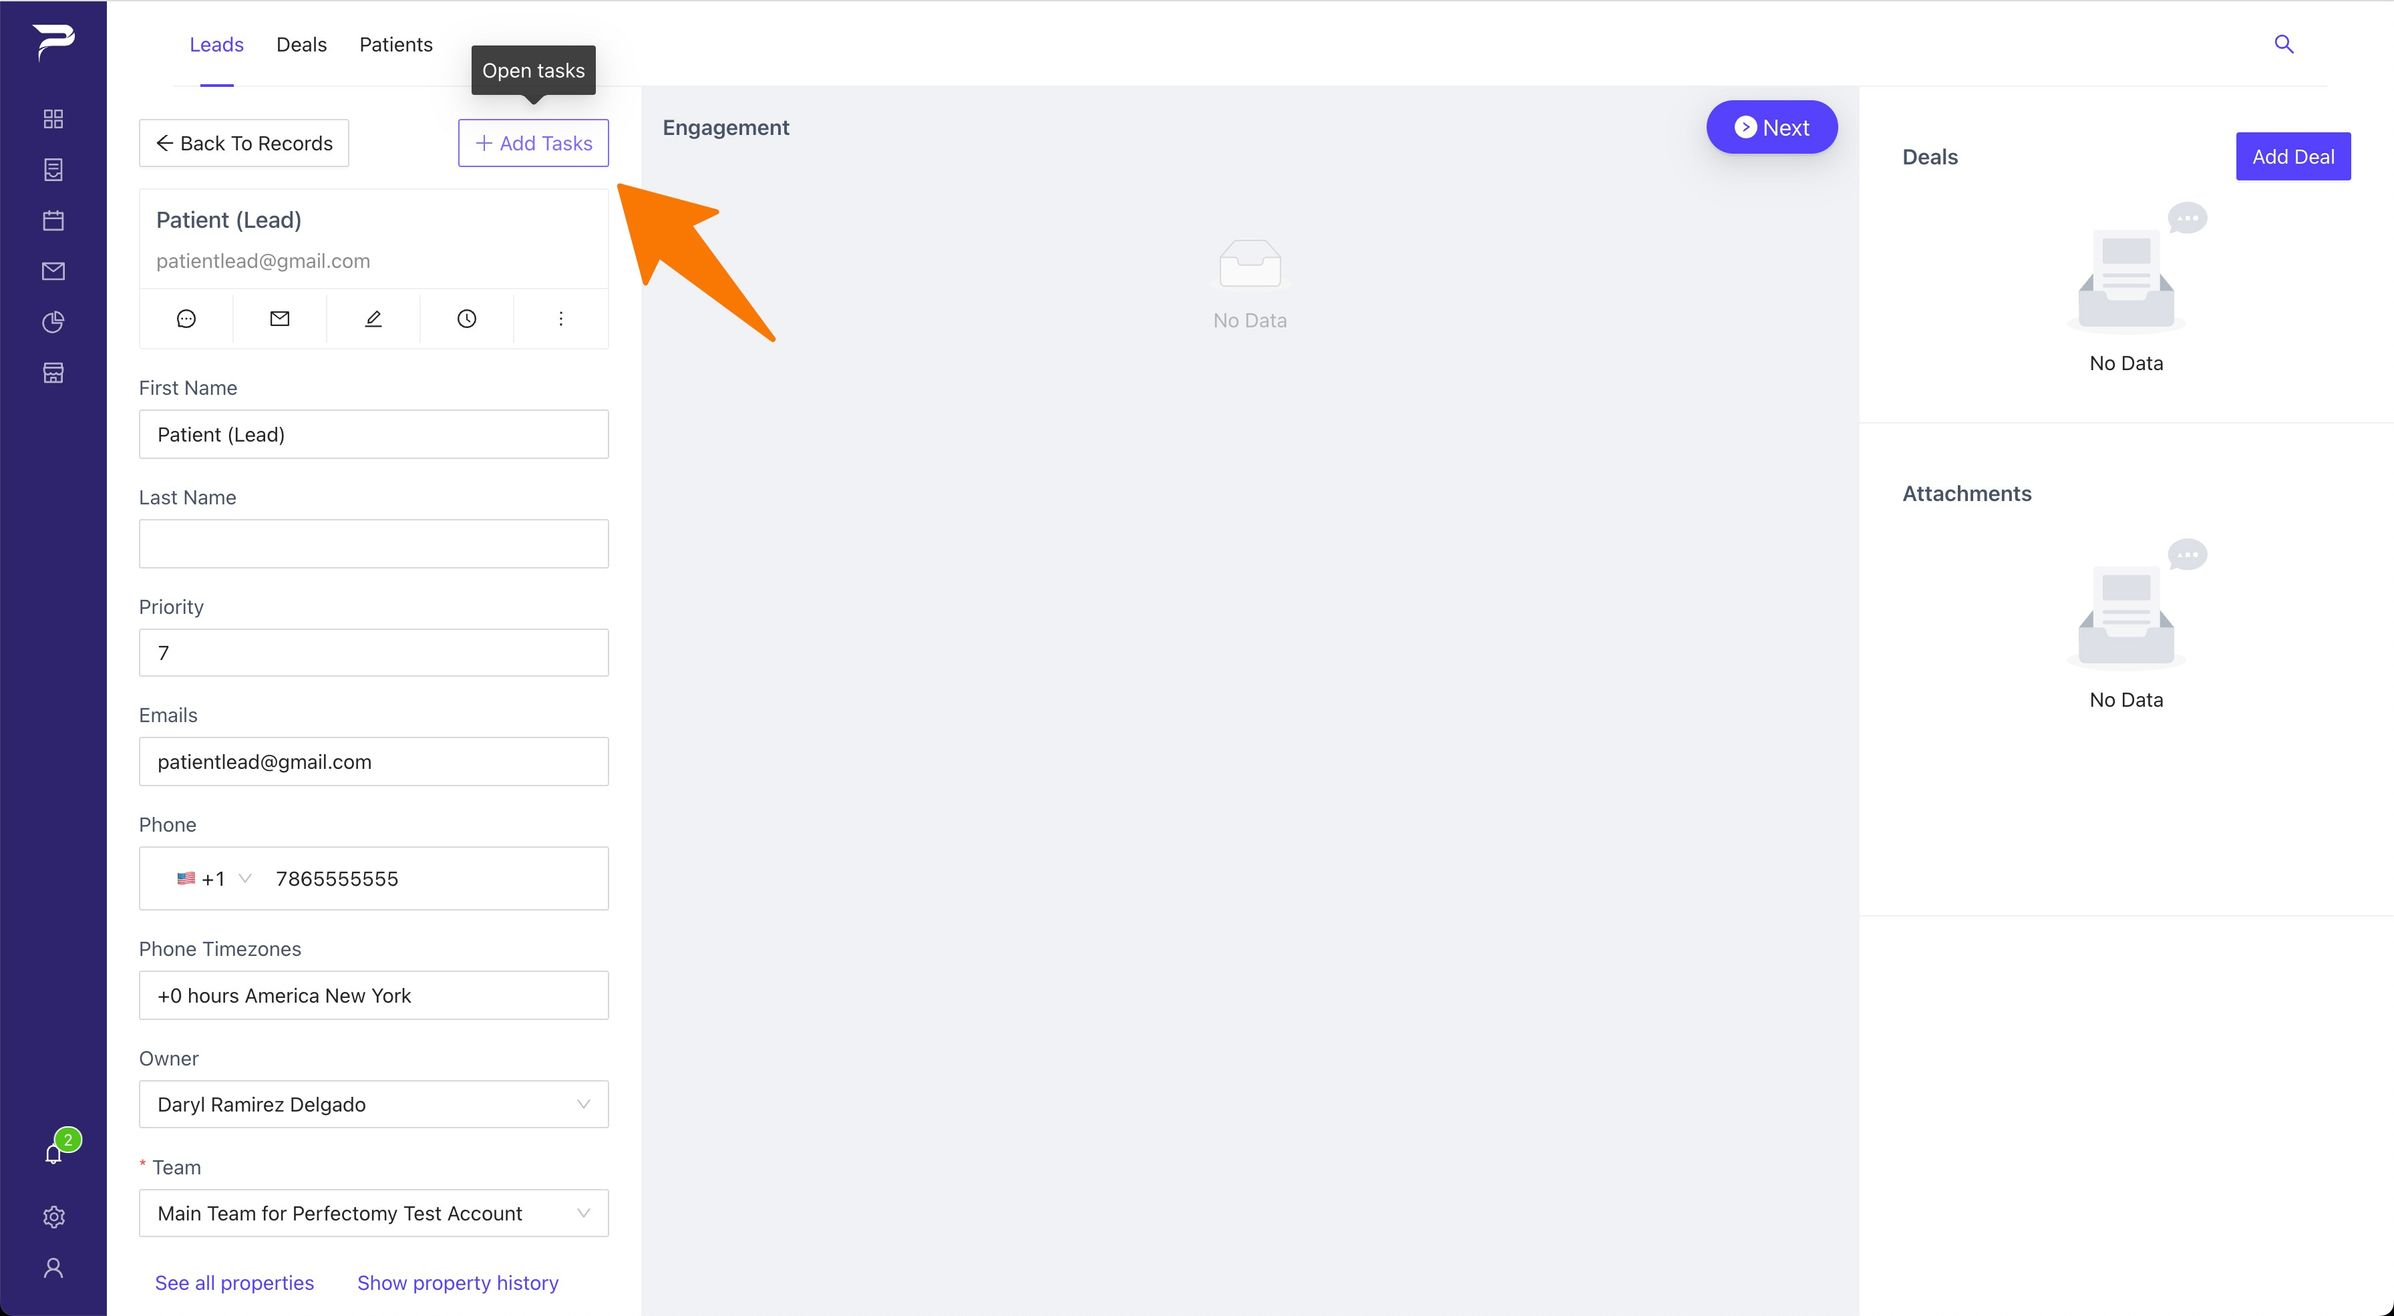
Second Option: If you don’t want to create predetermined tasks, you can create personalized tasks for each patient by just clicking the button shown in the image below.
Instructions
Highlight important information in a panel like this one. To edit this panel's color or style, select one of the options in the menu.
Related articles
-
Page:
-
Page:
-
Page:
-
Page:
-
Page: